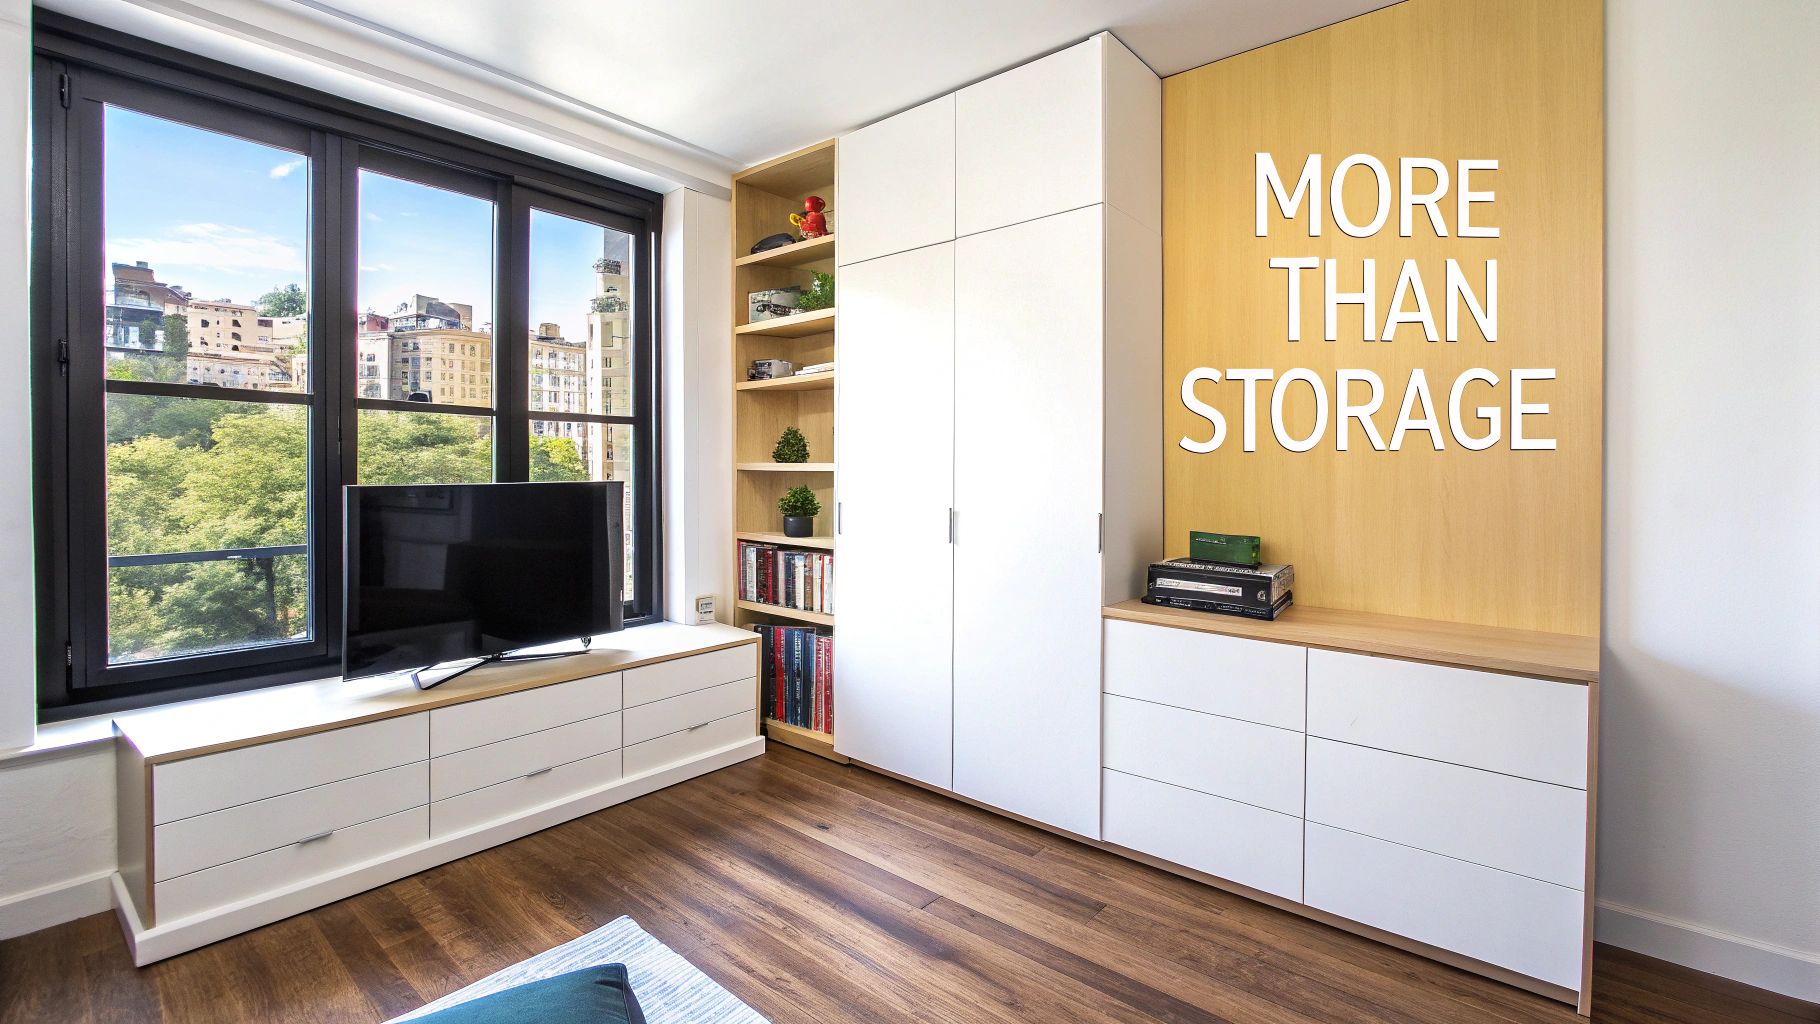
A built in cabinet is so much more than a place to stash your things; it's a piece of custom furniture designed to blend perfectly with your home's architecture. Unlike freestanding units you buy off the floor, these cabinets are constructed directly into a wall, alcove, or corner. The result is a seamless, high-end look that maximises every single inch of available space.
This makes them a brilliant investment for any homeowner in space-conscious Singapore, enhancing both the daily function of your home and its long-term property value.
Why a Built In Cabinet Is More Than Just Storage
In Singapore, where every square foot is precious, the choice between off-the-shelf furniture and integrated solutions is a big one. A built in cabinet isn't just an addition to a room; it becomes a part of the room itself. It's an architectural workhorse that solves tricky design challenges while elevating your home's entire look and feel.
This approach turns limitations into real opportunities. That awkward niche under the stairs becomes a clever storage hub with pull-out drawers. A plain wall in a compact HDB bedroom evolves into a full-height wardrobe with a slick, integrated study nook. It’s all about creating a home that feels intentionally designed for you and how you live.
The Power of Bespoke Design
The real magic of custom carpentry is that it’s shaped entirely around you. Unlike one-size-fits-all options that force you to compromise, a bespoke built in cabinet is designed around your specific routines and storage needs. This level of personalisation touches every detail.
- Maximised Vertical Space: In condos and HDB flats with higher ceilings, floor-to-ceiling cabinets eliminate that dusty, awkward gap at the top. This simple move draws the eye upward, making the whole room feel taller and more spacious.
- Concealed Functionality: We often design cabinets to discreetly hide things you don't want to see—messy TV wiring, Wi-Fi routers, or even the household shelter door—for a clean, uncluttered finish.
- Perfect Proportions: Every cabinet is measured and built to your room's exact dimensions. This means perfect alignment with walls, windows, and structural beams, giving you that truly professional, polished look you can't get from a store.
A well-designed built in cabinet doesn't just store your belongings; it organises your life. It's the difference between a house that simply holds your things and a home that works beautifully for you.
Ultimately, choosing a built in cabinet is an investment in cohesion and efficiency. It’s a solution that merges seamless function with your personal style, setting the stage for a home that is both beautiful and effortlessly practical. This is where strategic design moves beyond just decorating and becomes a core part of how you experience your home every day.
Choosing Your Cabinet Materials and Finishes
The foundation of a beautiful and long-lasting built-in cabinet comes down to its materials. Picking the right combination of core structure and surface finish is one of the most important decisions you'll make. It doesn’t just define how your cabinet looks, but also how it stands up to daily use, how easy it is to maintain, and the final price tag.
Think of the core material as the cabinet's skeleton—it provides strength and form. The finish is its skin—the surface you see and touch, which sets the style and protects everything underneath. Let's get into the most practical options we work with for homes here in Singapore.
The Core Materials: What's Inside Matters
When it comes to the internal structure, we're focused on performance, not just looks. The material needs to be strong, stable, and ready to handle the environment of the room it's in.
H3: Plywood This is our go-to material for most custom carpentry projects. Plywood is made from thin layers of wood veneer glued together, which gives it incredible structural strength and resistance to warping. It’s a real workhorse.
Especially for wet areas like kitchens and bathrooms, we always use moisture-resistant (MR) plywood. It handles Singapore's humidity far better than standard options, preventing the swelling and bubbling that can ruin a cabinet over time.
H3: Medium-Density Fibreboard (MDF) MDF is an engineered wood product made by breaking down wood fibres and fusing them with wax and resin. Its superpower is its perfectly smooth, uniform surface—no knots, no grain, just a flawless canvas.
This makes MDF the ideal base for a pristine spray-paint finish or for creating detailed profiles like shaker-style doors. However, it's quite a bit heavier than plywood and doesn't handle moisture well. We reserve it for dry areas like bedroom wardrobes or living room feature walls.
The Surface Finishes: Defining Your Style
The finish is where your personality really comes out to play. It’s the most visible part of your cabinet and determines the final look, texture, and maintenance.
- Laminates: By far the most popular choice in Singapore. High-pressure laminates (HPL) offer a mind-boggling range of colours, patterns, and textures—from realistic wood grains to solid matte colours and convincing stone effects. They are incredibly durable, scratch-resistant, and a breeze to clean, making them perfect for busy, high-traffic areas.
- Wood Veneers: If you love the authentic warmth of real wood, veneers are a fantastic option. A thin slice of actual hardwood is bonded to a core material like plywood. This gives you the genuine look and feel of solid wood without the hefty cost and risk of warping.
- Paint (Spray Finish): Nothing beats a spray-painted finish for a seamless, high-end look. It allows for limitless colour customisation—perfect if you need to match a specific wall colour or want a bold, monochromatic statement piece. This is the finish we often turn to for modern-luxe or classic European designs.
Your choice of material and finish is always a balance between the room's function, your aesthetic, and your budget. Getting this balance right is the secret to a successful built-in cabinet.
Here's a quick guide to help you weigh your options:
Material and Finish Selection Guide
| Material/Finish | Best For | Durability | Maintenance | Cost Level |
|---|---|---|---|---|
| Plywood Core | Kitchens, bathrooms, high-use areas | High (excellent strength, moisture-resistant) | Low | $$ |
| MDF Core | Wardrobes, feature walls, decorative panels | Medium (prone to water damage) | Low (but can chip) | $ |
| Laminates | All-purpose, high-traffic surfaces | Very High (scratch & stain resistant) | Very Low (wipe clean) | $-$$ |
| Wood Veneers | Feature pieces, living rooms, studies | Medium (can scratch or dent) | Medium (requires care) | $$-$$$ |
| Spray Paint | Seamless looks, custom colours | Medium (can chip, needs professional touch-up) | Low (easy to clean) | $$$-$$$$ |
This table gives you a starting point, but the best way to choose is to see and feel the samples for yourself.
Matching Materials to Your Design Vision
How do these choices translate into the styles our clients are asking for? From our experience, certain combinations just work beautifully.
For a clean, Scandinavian or minimalist look, we often pair a plywood core with light-coloured, matte white, or soft wood-grain laminates. The design is all about clean lines and subtle, natural textures.
For a more luxurious modern or contemporary vibe, a smooth MDF base with a high-gloss or satin spray-paint finish creates a sleek, polished look. This is also where a stunning book-matched wood veneer can become the hero of the room.
Ultimately, picking the right materials ensures your built-in cabinet isn't just a place to store your things—it becomes a defining feature that elevates your home's character.
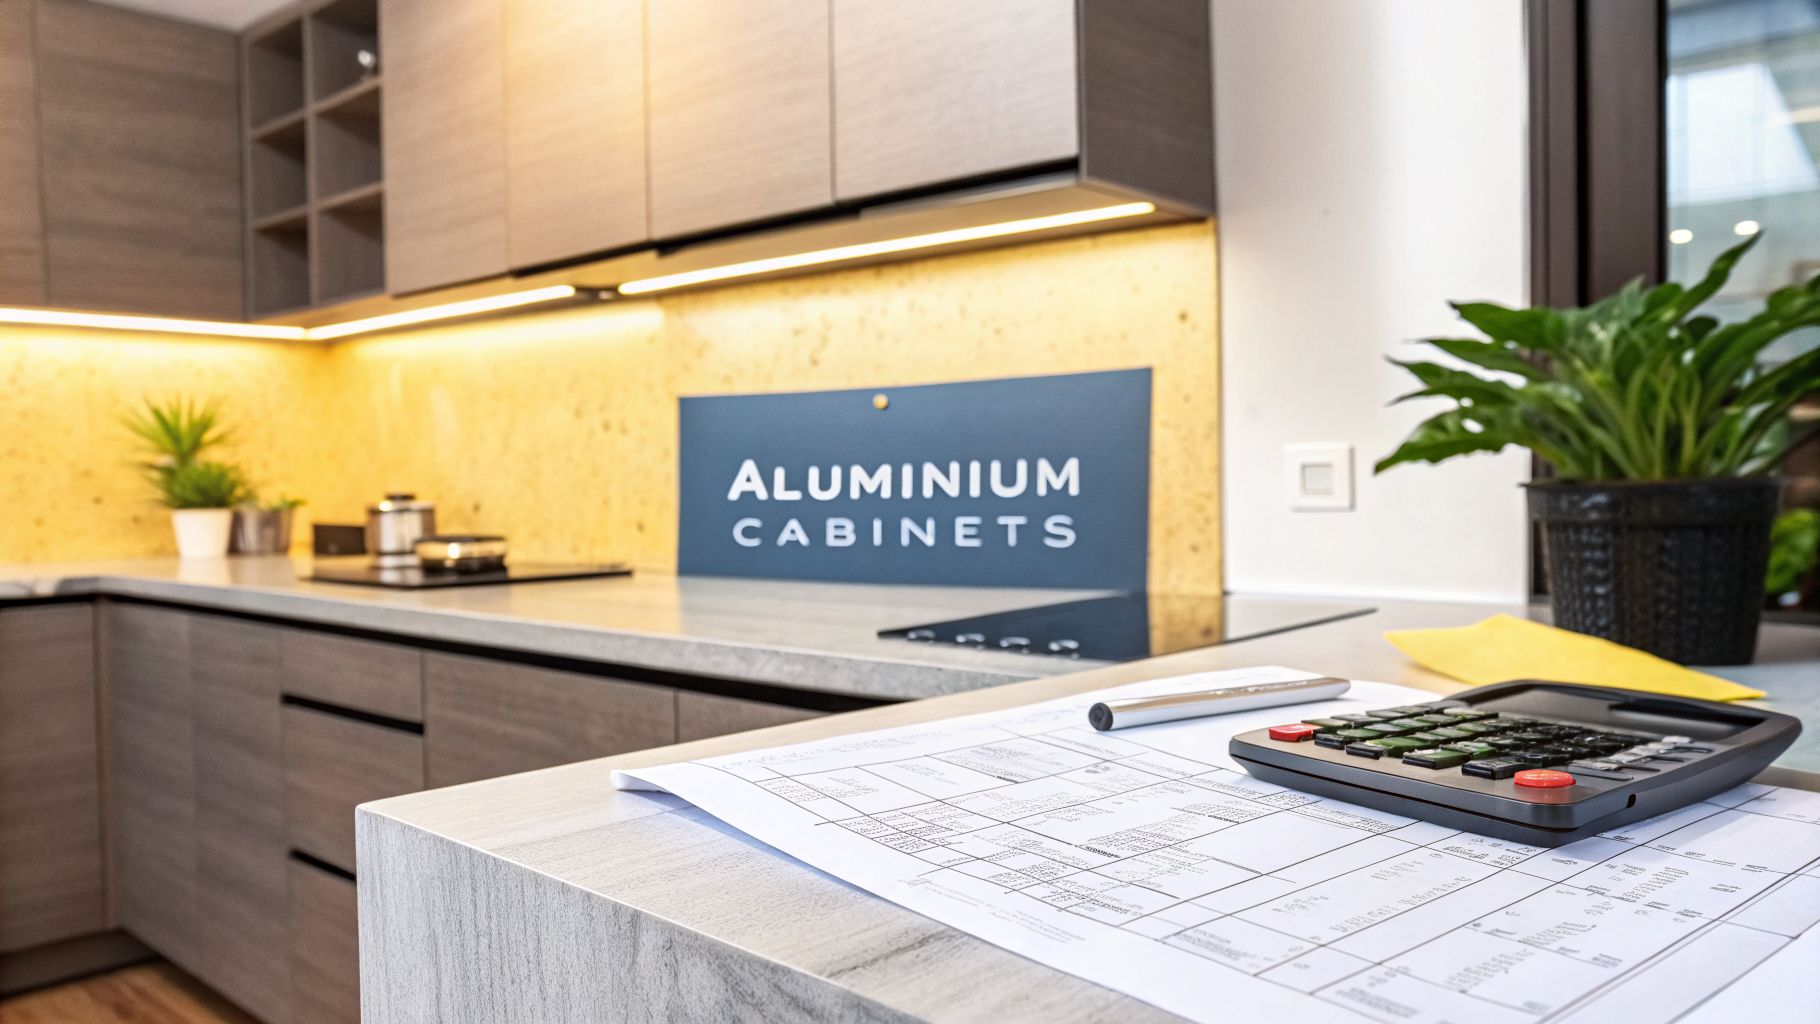
Decoding the True Cost of Custom Carpentry
One of the first questions we get is, "How much will it cost?" The price for a custom built in cabinet isn't a simple price tag; the final figure is a sum of all the decisions we make together.
It’s about much more than a per-foot-run (PFR) estimate. While that number gives you a rough idea, the real cost drivers are in the details—the elements that transform a basic box into a seamless, functional part of your home.
The Key Factors Driving Your Budget
Think of it like ordering a custom-tailored suit. The base price gets you the fabric and the cut, but the final cost depends on the lining, buttons, and intricate stitching. It's the same with carpentry; every choice shapes the budget.
Here are the three main areas where costs take shape:
- Material and Finish Selection: This is your foundation. The choice between a core material like moisture-resistant plywood versus MDF, and the finish—whether it's laminate, veneer, or spray paint—are the primary cost drivers. A large wardrobe in a premium European laminate will naturally cost more than one with a standard finish.
- Design Complexity: A simple, straight-run cabinet with standard shelving is the most cost-effective option. As we introduce complexity like curved edges, decorative panelling (think Shaker or fluted styles), or intricate internal dividers for specialised storage, the labour and material costs rise.
- Hardware and Mechanisms: This is an area where costs can surprise you. Standard hinges and drawer runners do the job well. However, upgrading to smooth, soft-closing systems from brands like Blum or Hafele will add to the price. The same goes for clever hardware like pull-out pantry systems, integrated LED lighting, or sleek, recessed handles.
A Real-World Example in a 4-Room HDB Flat
Let's ground this in a practical scenario. Imagine we're designing a full-height, 8-foot wardrobe for the master bedroom in a typical 4-room HDB flat.
Scenario A (The Smart & Sensible Build): Our client opts for a durable plywood core with a standard laminate finish. The design is a clean, rectangular shape with simple swing doors and standard hinges. Inside, it’s fitted with basic shelving and hanging rods. This approach delivers a functional, long-lasting, and clean design that meets all essential needs.
Scenario B (The Feature-Rich Upgrade): This client is after a more premium experience. They select a high-quality wood-grain laminate, soft-closing hinges for every door, and drawers that glide shut silently on soft-closing runners. For a touch of elegance, one section features a fluted glass door. This design feels more luxurious, but the upgraded hardware and specialised door will increase the final cost.
Both wardrobes take up the exact same footprint, but the different choices in materials, hardware, and design details can easily create a price difference of 30-50% or more. Understanding this from the start helps you make smart trade-offs that align with your budget and priorities.
The Bigger Picture in Singapore Renovations
It’s helpful to see how these costs fit into a full home renovation. Here in Singapore, custom carpentry often represents the single largest slice of the renovation budget.
In fact, for a new 4-room BTO flat, where renovation costs typically range from SGD $40,500 to $63,000, carpentry for a built in cabinet and other custom pieces can account for a massive 37% of the total spend. This means carpentry alone could command a budget of SGD $15,000 to over $23,000. You can dive deeper into local renovation budget trends over at Home Journey SG.
Knowing this empowers you to plan your funds wisely. Our job is to walk you through these decisions, helping you invest in the details that will bring you the most joy and value.
Our Process: From Your Idea to Installation

Turning an idea into a beautifully crafted built in cabinet should be an exciting journey, not a stressful one. Our process is designed to be completely transparent, making sure you feel involved and confident at every stage.
Think of it as a collaborative partnership. We move methodically from your initial thoughts to the final, flawless installation, breaking the project down into clear, manageable phases.
Stage 1: The Initial Consultation
This is where our journey begins. It’s a deep dive into what you truly need. Are you trying to solve a tricky storage problem or create a stunning focal point? We’ll talk about your lifestyle, your design tastes, and how you see yourself using the space every day.
- Getting on the Same Page: We’ll look at your inspiration photos, discuss what the cabinet needs to do, and map out the functional must-haves.
- Talking Budget: We have a frank and open conversation about your budget from the very start. This helps us guide design choices realistically.
- Expert First Impressions: Based on our experience, we’ll offer immediate insights on what’s possible in your space, setting a clear and achievable direction.
This first meeting is all about establishing a shared understanding. It ensures the design we create isn’t just beautiful, but perfectly tailored to you.
Stage 2: Design and Visualisation
With your vision clear in our minds, our designers get to work. It all starts with a visit to your home for meticulous on-site measurements. We account for every little architectural quirk—from skirting boards to slight imperfections in the walls—because precision is everything.
Next, we translate those numbers and your ideas into a detailed design. We use realistic 3D renderings to show you exactly how your custom built in cabinet will look in your room. Using professional 3D architectural rendering services is an invaluable step to help you visualise the final piece and confirm every detail before we cut a single piece of wood.
Seeing your cabinet in 3D before fabrication is the single best way to finalise the details. It gives you the confidence to approve everything from the proportions and layout to the exact colours and finishes.
Stage 3: Fabrication and Installation
Once you’ve signed off on the design, our skilled carpenters take over. Your built in cabinet is brought to life right here in our workshop, where we have complete control over the quality of every cut, joint, and finish. Crafting it off-site dramatically minimises the dust and disruption in your home.
When every component is perfected, our installation team carefully brings them to your home for the final assembly. They work efficiently and meticulously to ensure a perfect, seamless fit. Our process always ends with a final walkthrough to make sure you are absolutely delighted with the result.
Inspiring Designs From Our Built-in Cabinet Portfolio
Theory is great, but seeing is believing. The true magic of a custom built-in cabinet really comes to life when you see it solve real-world problems for Singaporean homeowners.
Here are a few stories from our portfolio, showing how thoughtful carpentry can completely transform a space. Each one started with a client's unique challenge and ended with a solution that’s not just beautiful, but perfectly in sync with their lifestyle.
Case Study 1: The Space-Saving HDB Bedroom Wardrobe
In our cosy HDB flats, every square metre is precious. This was the exact situation for our clients in a Punggol BTO. They desperately needed more wardrobe space, but didn't want their master bedroom to feel like a cramped storage unit. They also needed a spot for vanity and work.
The Challenge: Design a full-height wardrobe that also incorporates a dressing table and a work-from-home desk, all without eating up the whole room.
Our Solution: We crafted a floor-to-ceiling built-in cabinet system that wrapped around one entire wall. The key was using a single, light wood laminate finish to create a seamless look, which instantly made the room feel bigger.
- Integrated Nook: We carved out a central niche within the wardrobe to house a custom vanity and desk. It came complete with hidden power points and soft LED lighting—perfect for getting ready or jumping on a video call.
- Smart Storage: We planned every inch with pull-down rails for high-up storage, soft-closing drawers for accessories, and specific shelving for folded clothes.
- Seamless Handles: Instead of bulky handles, we opted for recessed finger pulls. This kept the lines clean and saved crucial walkway space.
The result? A single, hardworking wall that does it all, proving you don't need a massive room to have maximum function.
Case Study 2: The Sleek Living Room Media Hub
A family in a Tampines condo wanted their living room to be a chic space for entertaining. The problem was the mess of wires, gaming consoles, and remote controls creating visual chaos around their too-small TV console.
The Challenge: Create a stunning media wall to act as the room's focal point. It needed to hide all electronic clutter while offering a mix of display shelves and hidden storage.
Our Solution: We designed a long, floating built-in cabinet and paired it with a dramatic fluted panel feature behind the TV. This combination added texture and a touch of architectural drama.
- Floating Design: By lifting the main console off the floor, we created an illusion of space. It instantly made the room feel lighter and easier to clean underneath.
- Ventilated Compartments: We built specific sections with slatted doors and rear ventilation panels, perfect for housing the set-top box and gaming console, keeping them cool and completely out of sight.
- Integrated Lighting: We installed warm, dimmable LED strips under the floating console and behind the TV panel. It casts a beautiful ambient glow—perfect for movie nights.
This custom piece turned their living room from a functional area into a polished, inviting entertainment hub. Keeping an eye on the latest interior design trends is a great way to ensure your own designs feel both current and classic.
Case Study 3: The Multifunctional Kitchen Island
The kitchen was the heart of the home for our clients in a Serangoon Gardens landed property. They dreamed of a massive central island that could be a food prep station, a casual breakfast spot, and a storage beast all in one.
The Challenge: Design an island that was practical enough for a serious home cook but stylish enough to be the showstopper in their open-plan living space.
Our Solution: We built a large, statement island topped with a tough-as-nails sintered stone surface. The built-in cabinet base was cleverly zoned for different kitchen tasks.
A great kitchen island isn't just about counter space; it's about creating an efficient workflow. We designed this one with a 'work triangle' in mind, even within the island itself.
We included deep drawers for pots and pans, a dedicated pull-out bin for waste and recycling, and integrated a wine chiller on the side facing the dining area. For the finish, we went with a bold navy-blue spray paint, which created a gorgeous contrast with the lighter cabinetry along the kitchen's perimeter. This project shows how a built-in cabinet can define the entire flow and function of the most important room in the house.
Smart Features That Make All The Difference

Today's built-in cabinets are more than just storage. We’re designing them as hardworking, intelligent parts of the home that make daily life smoother. It’s about moving beyond simple shelves and doors to build in features that add genuine function.
The trick is to plan for these additions from the beginning. Integrating wiring, mechanisms, and specific hardware during the initial design phase is the only way to get a flawless, seamless finish. Trying to retrofit these features later is more difficult, more costly, and can ruin the clean look of the cabinet.
Integrated Lighting for Ambiance and Function
Thoughtful lighting can completely transform your cabinetry. I’m not just talking about an overhead light, but subtle, integrated solutions that look amazing and work beautifully.
- Task Lighting: Under-cabinet LED strips in the kitchen are a game-changer for food prep, lighting up your countertops without casting shadows.
- Accent Lighting: Motion-sensor lights inside a deep pantry or wardrobe make finding what you need effortless. They pop on when you open the door and switch off when you close it.
- Mood Lighting: Warm, dimmable LEDs tucked into open shelving create a soft, ambient glow, turning a display unit into a sophisticated focal point.
Concealed Tech and Clever Organisation
One of the biggest requests we get is for a clean, uncluttered look. This means cleverly hiding the necessary but often unsightly parts of modern life.
The ultimate luxury in modern design is convenience. A smart built-in anticipates your needs, providing power exactly where you need it while maintaining a sleek exterior.
A feature that clients love is the hidden charging drawer. We integrate a power strip right inside a drawer in a nightstand or entryway console. This gives you a dedicated, out-of-sight spot to charge phones and tablets, clearing cable clutter from your countertops.
Similarly, things like pull-out organisers for awkward corner cabinets or narrow spice racks ensure no space is wasted and every item is within easy reach. These smart features are becoming increasingly popular, driving major growth in Singapore's cabinet market, which saw import growth jump by 9.31% from 2023 to 2024. You can explore more insights on these Asia-Pacific cabinet market trends on Mordor Intelligence.
Your Built-In Cabinet Questions, Answered
Starting a custom carpentry project naturally brings up a few questions. To give you the clarity and confidence you need, we’ve put together straightforward answers to the queries we hear most often.
How Long Does the Custom Cabinet Process Take?
From our first chat to the final installation, a typical custom cabinet project usually takes between 6 to 10 weeks. This is broken down into distinct stages.
First, we spend about 1-2 weeks on the design, helping you choose materials and perfecting the 3D drawings. Once you give the green light, our local workshop gets to work, which takes another 4-6 weeks. The final installation on-site is usually wrapped up in 1-2 weeks, depending on the complexity. We always map this out in a clear schedule for you.
What Is the Difference Between Custom and Semi-Custom Cabinets?
The real difference comes down to flexibility and fit.
Think of semi-custom cabinets like ordering from a set menu. You get a fixed list of sizes, styles, and finishes to choose from. They’re based on standard dimensions, so they might not make the most of your unique space.
A true custom built in cabinet—which is what we specialise in—is crafted entirely from scratch. Every detail is decided by you and for you. We tailor the exact height, width, internal organisers, material, and hardware to your space and lifestyle. This guarantees a flawless fit and opens up a world of design possibilities that semi-custom options can't offer.
How Do I Care for My New Built In Cabinet?
Keeping your new built-in cabinet looking its best is simple. The routine just depends on the materials you’ve selected.
- For laminates: These are incredibly low-maintenance. A soft, damp cloth with a touch of mild soap is perfect for wiping away fingerprints and dirt.
- For wood veneers: To keep the natural grain looking rich, steer clear of harsh chemical cleaners. A gentle cleaner made specifically for wood will do the trick and protect the finish.
After we complete your project, we’ll leave you with a personalised care guide for your built in cabinet. It will have all the specific details you need to maintain its pristine look for years to come.
Can You Work With My Interior Designer or Architect?
Absolutely. We love collaborating and often act as the specialist carpentry team within a larger renovation project. Our team is skilled at working alongside other design professionals to bring their vision to life with precision and expert craftsmanship.
We prioritise clear communication to ensure the final cabinetry integrates seamlessly with the overall design, making the whole process smooth and efficient for everyone involved.
Ready to transform your space with a beautifully crafted built in cabinet? At KIVO, we combine artisan experience with a commitment to your unique vision. Let's start the conversation about your project today.